Showing posts with label Piecing. Show all posts

Wednesday, 23 October 2013

Half Square Triangles, the possibilities are endless!

I dont know what it is about rainy weather, but for some reason on those days I get a lot more done.  I'd usually do the things that I put off or set aside for, you know 'a rainy day', LOL.  But this week I was inspired to create.  So as I was looking through my fabric stash and picked out a 6 piece fat quarter bundle my sister sent me from the UK and I started browsing the web for inspiration to strike.

Image from Robert Kaufman

I did a general search for modern quilts and the one that grabbed my attention was this Asymmetrical diamond quilt from Robert Kaufman

I downloaded the free pattern and as I was looking through the fabric placements and fabric requirements I was inspired to design something different using this layout as my base.

I wanted to extend the design a bit further so I took my graph paper and started drawing.  So after a lot of scribbling and playing around, this is what I came up with.


So putting the pattern aside I immediately started planning.  This whole quilt consists of half square triangles.  Now let me be honest, I am NOT a math wiz, all I wanted was to get the exact amount of hst (half square trianlges) I needed to make this quilt.  So using THIS video tutorial from MissouriQuiltCo on Youtube for creating pinwheels which are made up from hst I knew its an easy technique to get it done fast...

A fat quarter is 18 x 22 inches, that is if its cut perfectly.  I knew I could get 9 - 6 inch squares out of one fc (fat quarter), but since I still had to cut off the selvage AND straighten the edges, I ended up cutting 8, 5⅞ inch squares from 6 different prints giving me 48 squares and for my background colour I cut the same amount.  So.. from one square I get 4 hst, I had 48,.. so 48 x 4 = 192, and I needed 180, so I was in the clear.

So after a lot of cutting...


...piecing


and MORE cutting


I ended up with these... Beautiful open and pressed half square triangles.


but...they still needed squaring up!


So after a lot of trimming squaring the hst to 3⅝ inch squares it was time to arrange the pieces...


at this point I got really exciting seeing the picture grow...


I ran out of space on my table, but once I have these pieced together I can lay out the rest..

I cant wait to see the whole quilt pieced together, so you guessed it, I'm off to start piecing these squares together....

Happy quilting!

* My posts delivered to you *

 photo rss_zps514fcff1.png    photo bloglovin_zpsb177e45f.png    photo mail_zps60f67007.png


Friday, 20 September 2013

Modern Quilt Blocks Progress

This past week there has been a sudden change in the weather.  We're not even one month into spring, and temperatures has already shot up to +30°C.  Now don't get met wrong, I love summer!  It's just that temperatures gradually rise, but this time its a sudden change, and it takes some getting used to.  

So time spent in my sewing room was a lot less this week.  But I have made some progress with my, hopefully modern quilt.


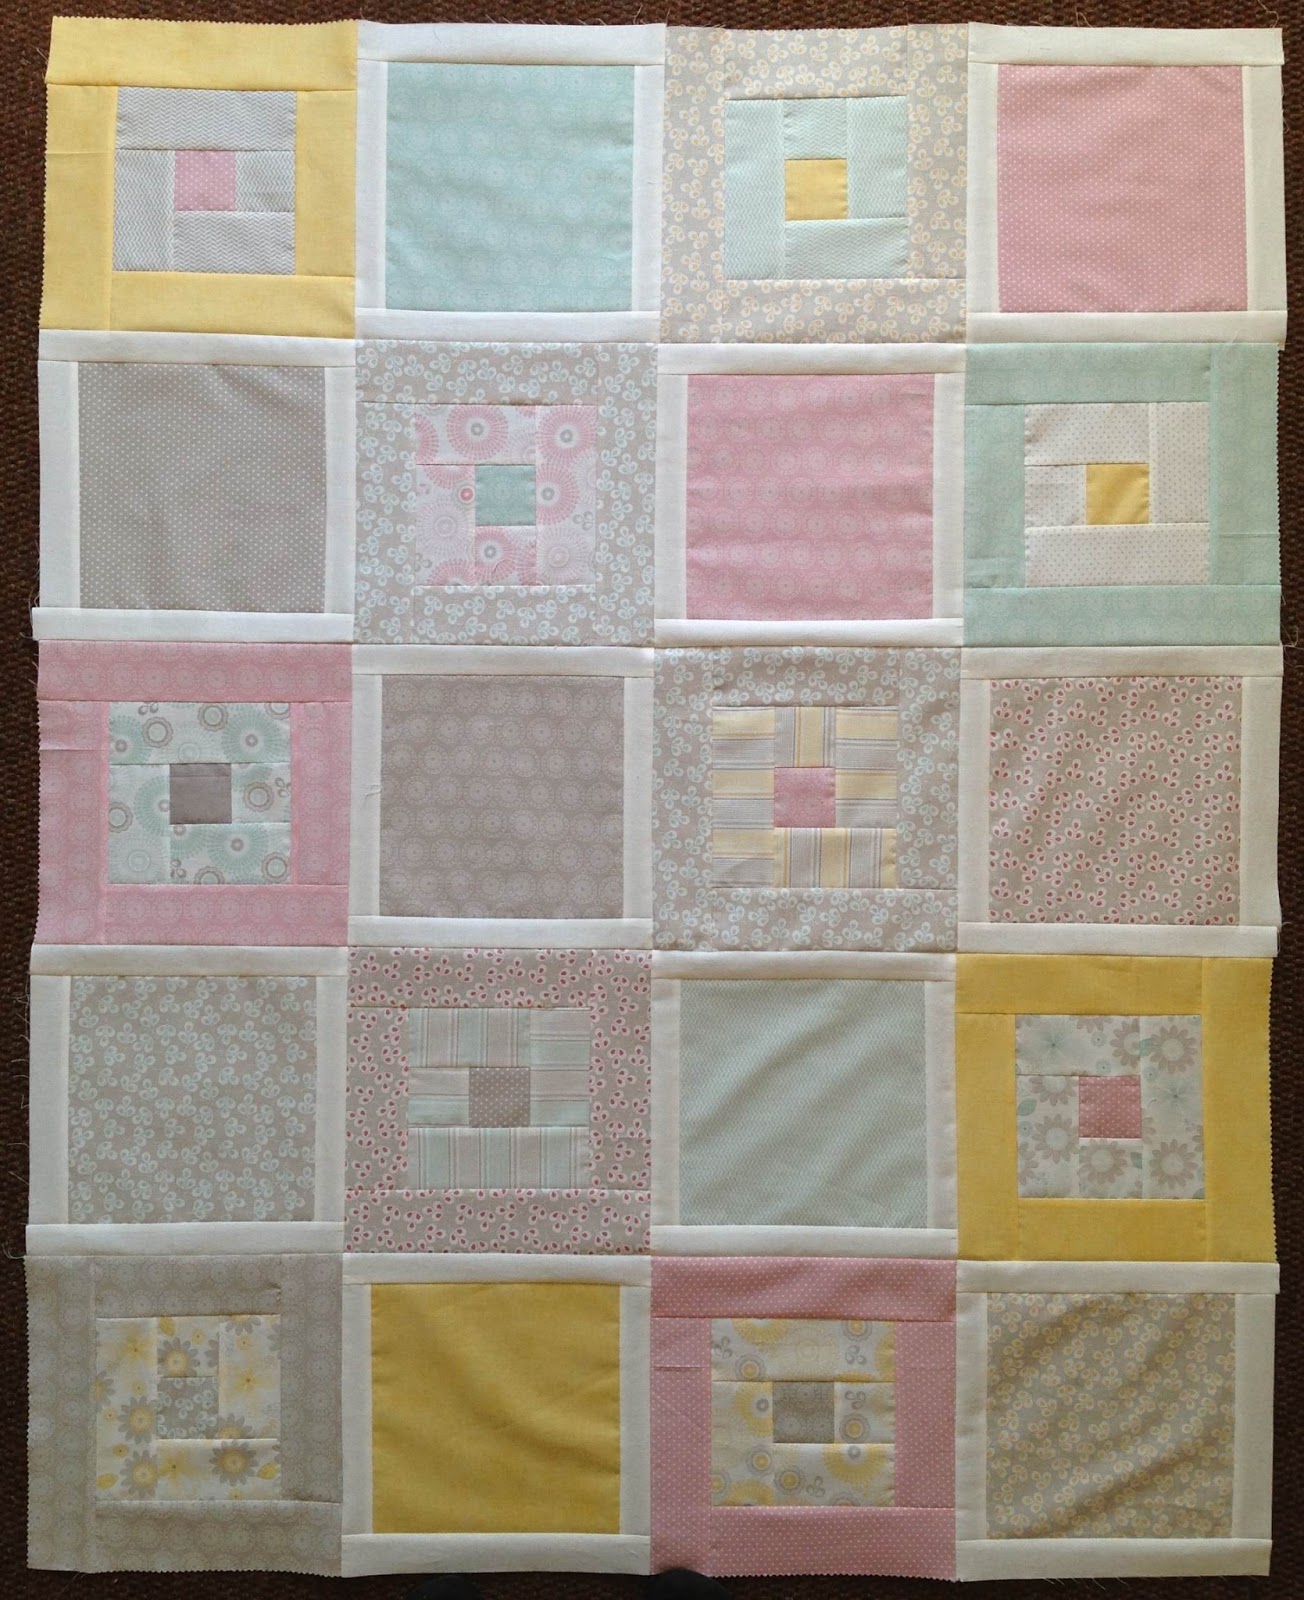
I've added two more blocks.  Improv piecing takes a bit of concentration, especially working out the added seam allowances.  But it's surprisingly easy and straight forward, I guess since these blocks are mainly squares and rectangles, it eliminates most of the guess work.  I am not entirely sure if the yellow fabric works well with the rest of the prints.  I think once I have a more structured puzzle I will know if it will fit in with the rest of the quilt.


The block I made this afternoon (below) is so far my favorite.  I like the small square inside the larger squares.  There are two other pieced blocks that I've made (not shown) that I'm not entirely sure if I'm going to add yet, they appear too busy.  


I am quite excited to get this quilt top done, I can just imagine the quilting possibilities.  The idea is to add a lot of white fabric around these blocks, creating a lot of negative space to quilt.

...and then.. 

as I was preparing supper, waiting for the water to boil, I sat at the kitchen table, and started doodling.  Something I used to do quite often.  Lots of free motion quilting designs in ink.  By the time I had doodled about half of this picture, I realized the water must have been boiling for quite some time, almost half of it was gone...  I can get completely lost with my own thoughts.  Its very relaxing.  Luckily it was just water :-)


Have a great weekend!

* My posts delivered to you *

 photo rss_zps514fcff1.png    photo bloglovin_zpsb177e45f.png    photo mail_zps60f67007.png


Wednesday, 14 August 2013

Quilted Cushion.. my first!


It was about a year ago that I pieced these blocks, and at the time I had no idea what I wanted to do with them.  There are four 15½ inch square blocks so I knew together it would not be large enough to make even a lap quilt.  So I stuck it in a bag, put it in a drawer and forgot about them. 

During the past weekend I cleaned up my sewing room, and as I was going through my drawers I found them again, and immediately knew I wanted to try and make quilted cushions with them.  

When it comes to making a quilt, I am quite comfortable, the steps now comes more naturally after doing it for more than a year.  But sewing in zippers?  I have never done it before, so I was going through pinterest looking for some easy to follow tutorials, and found THIS one, AND I only had one zipper to try it out, so for now I have only the one to share with you....  


Happy quilting.


Wednesday, 12 June 2013

Finished baby quilt top..

Before I start sharing with you today's post, I want to thank each and everyone for linking up to this week's Anything Goes linky party.  We're at week 21, and so far its peaked at 22 link ups, the most since I've started this linky party, and more are added daily.  Remember its open for a full week, so be sure to come back and read the ones you've missed... 

...It is very gratifying when piecing a quilt, and everything just works out.  The seams match up, no need for adjustments or using my seam ripper.  Admittedly if not for a ¼ inch piecing foot it would be a lot more complicated. 


So all that was left to do, after I had all the blocks and hearts done for this baby quilt, was to start assembling the quilt top.  I did use quite a bit of pins to secure the rows before sewing them together.  The last thing I wanted was shifting and having to do it over again.


I was not too picky about placement, but I did try and match the blocks up in a way that it did not have the same print and colour in the same row.


Almost done, but not quite.. The last bit, was the outside borders.  To make sure I did not mix them up, as they were placed dark, light, dark, I worked in rows.  I also marked them with stickers to makes sure once the rows were completed to add it to the quilt exactly as planned.


Its completely sewn together and all that is left to do now, is basting it, and of course to start quilting.  I do however want to plan it out first and not jump right in.  There are quite a bit of negative space to fill, and I want to do a bit of custom quilting instead of a meander.

I don't yet have a full view of the quilt top, but will share it with you very soon.


If you'd like to read up on the process of this quilt that includes a few tutorials, you can find it here, here and here.


Happy quilting.

Friday, 7 June 2013

Hearts, hearts ... and more hearts ♥


On Wednesday I showed you how I made the padded hearts for the baby quilt I'm making, so it would only be fare to show you the small hearts that go into the border too.  I made these the exact same way as I did the small hearts for the valentines mini quilt I made.

I started out by piecing two different, 10 inch x 2½ inch strips of fabric together pressing the seams open.  I made a small heart template the same way as I did for the larger hearts (you can see how HERE) and traced 20 hearts on fusible applique, I used Wonder Under.  After I had all my strips sewn, and hearts cut out, I pressed the applique hearts (glue side down) on to the back of the pieced strips right in the center, making sure the inside- and outside points are right on the seam and  the bottom of the heart facing towards the inside.  
  

The rest is very simple, I cut out the hearts and they were ready to be used.  By placing the hearts points towards the inside of the strip, you end up with mirror image hearts, same fabrics, but they look different.  


Then it was time to sew the hearts onto the strips of white fabrics.  To make sure I got the hearts exactly right and spaced exactly the same, I placed the strips right next to each other, and pined the hearts at an angle, I would then peal back the paper from the fusible applique and place them on the fabric, and press them with a really hot dry iron.


To sew them on, I used a blanket stitch.  This part was a bit tricky, spacing the stitches just right, especially in the center of the heart, and the bottom point.  Not all of them came out perfectly but most came ended up looking just fine.


To hide the thread tails, I pulled the threads to the back, tied them in a knot and pulled it through the existing stitches.  Because the heart is fused to the white fabric, there was no way of hiding them between the layers, and I did not want to leave the threads to show, since its all white, I don't want the black threads to show up when quilting.


These strips are for the side borders and I still have to get the top and bottom done.


This part is quite time consuming, since I'm stitching the blanket stitch quit slow, making sure they end up exactly right.


Happy quilting.


LinkWithin

Related Posts Plugin for WordPress, Blogger...