Showing posts with label Hand basting. Show all posts

Tuesday, 6 May 2014

Double Slice Layer Cake Quilt

For those of you that have been following my blog for a long ...long time, might remember THIS quilt.  The design is called 'Double Slice Layer Cake' quilt and its from Missouri Star Quilt Co. 


I pieced this quilt in December 2012, and would you believe it, I had forgotten all about it.  It was tucked away right at the bottom of one my UFO containers.  I was on a mission these past few weeks cleaning out, sorting out and organizing all of my cupboards and rooms in our home.  The last room I sorted out was my sewing room, and when I came across this quilt, I immediately set it aside, knowing that this quilt WILL be quilted next.


Basting this quilt took me a good few hours.  I had to move the furniture away in my bedroom to clear a large enough space to pin baste it.  It's quite BIG, measuring at 73 inches square.  Luckily I am no longer afraid of quilting a large quilt on my home sewing machine.  After I have finished my Summer Solstice quilt, I know its possible.


For this quilt I am going to keep the quilting simple.  My aim, is TEXTURE.  So I am quilting an all over flower meander design using a gold'ish colour thread.  I think it blends in really well, and on every other dark piece of fabric the quilting shows up more clearly.  I might add a bit of interest inside the narrow white border and quilt something completely different, but I am still deciding. 


It is so nice quilting again after a few weeks' distraction.

* My posts delivered to you *

 photo rss_zps514fcff1.png    photo bloglovin_zpsb177e45f.png    photo mail_zps60f67007.png


Monday, 24 June 2013

Anything Goes Quilt 'n Sew #23 - Hand Basting

There are quite a few ways to baste a quilt, my most favorite and less back breaking way are Susan Schamber's method, I shared her video tutorials some time ago HERE.  Her method used two long boards that you use to roll up the backing and front of your quilt and then rolling it open as you baste the layers together, as shown in the picture on the right.  I've used this method on my Purple Diamond quilt, and it worked brilliantly.  This way of basting works absolutely great depending on the size table you have and of course the size of the quilt.

Then there is the famous masking tape method, one that I never seem to get right.  The  moment I pull the fabric to get it tight and smooth, the tape pulls away from the floor on the opposite side, it always an endless struggle with very little success.  So I have totally given up on trying it again.

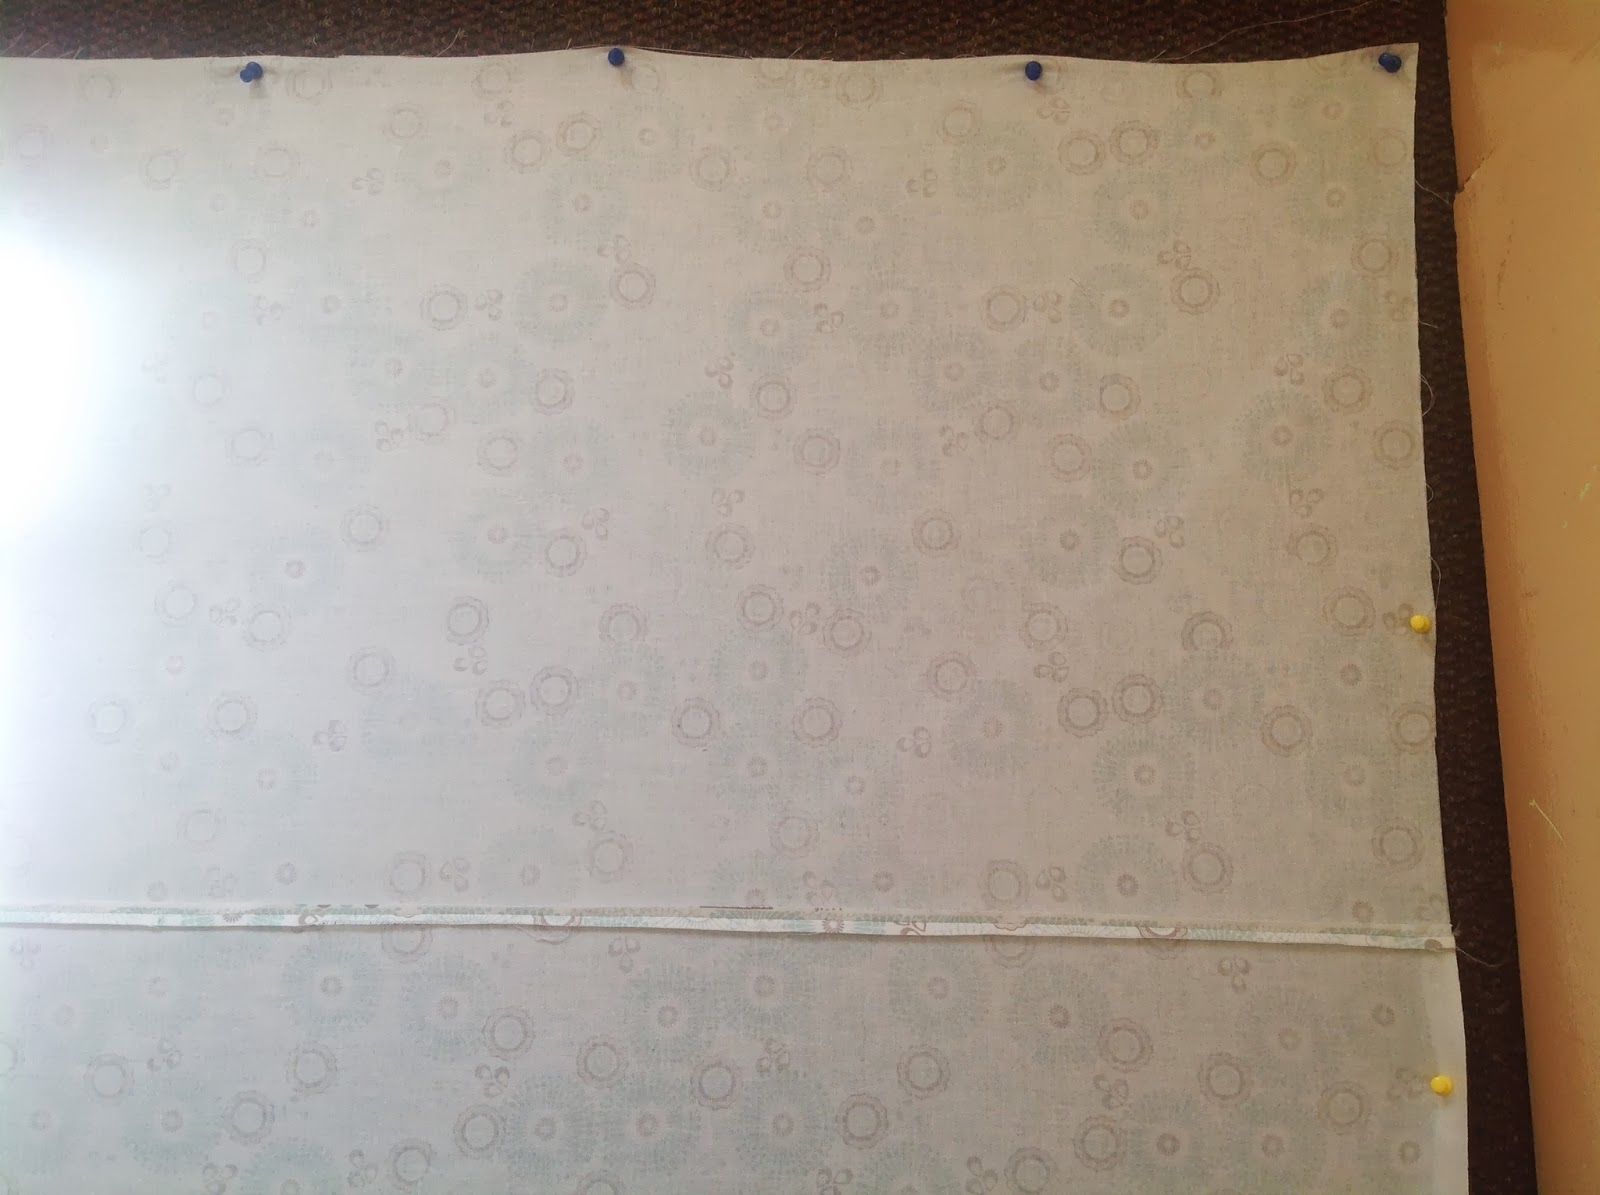
So today I would like to show you how I baste my quilts that are too big for the table I have available.  Its not much different from using masking tape and wood floor surfaces, except I go to my bedroom which has wall to wall carpeting, and instead of masking tape, I use tacks.


I smooth out the backing with the right side of the fabric towards the carpet, and pull it slightly, not really stretching the fabric, but just enough to make sure its smooth and tight, the last thing you want is puckers that might form during quilting.     


I use curved safety pins to secure the three layers, and the only tricky part is pushing the pins through the three layers and to not catch the carpet.  If you do try or use this method already, you'll see that once you feel that you've caught the carpet threads, you just pull back ever so slightly and it will automatically let go of the carpet and pull only the three quilt layers.  


Yes, you still have get down on all fours, but knowing the backing is secured and wont shift around while pinning, makes it all worth while.  Its really easy and I've had a lot more success doing it this way than with masking tape.  


So now that I have the baby quilt all ready I'm off to start quilting, I'm pretty excited to start.

Now it's time for this week's linky party

It's Monday and a new week, so lets all share some of our projects, please link up any current projects you've been working on, anything at all...  This link is open for a week and will run every Monday.  Remember to come back next week, or follow my blog to get regular updates.

If you wish feel free to add any other blog posts you write during the week, since this linky stays open for a full week, I think its a great idea to share and keep sharing.

All I ask is that you either add the 'Anything Goes' blog button to your sidebar or add a text link to your blog post, and comment on a few of the other links too, share the love and make this weekly link party a fun way to connect.

Stitch by Stitch
<div align="center"><a href="http://marelize-ries.blogspot.com/" title="Stitch by Stitch"><img src="http://i1269.photobucket.com/albums/jj592/MarelizeR/LinkyButton2_zps83805f35.jpg" alt="Stitch by Stitch" style="border:none;" /></a></div>


Happy quilting.


Monday, 19 November 2012

Purple Diamond

I named this quilt Pers Diamant translating Purple Diamond.  


I had so much fun making this quilt.  It measures 55½ by 77½ inches.


I started out by making a few mistakes with the fabric placement, you can read up on it here.  At first I tried random colour fabrics to make the block, but it just looked too busy, and it had no real structure, so I went back and changed it to the way it should have been, which turned out much better and much prettier, this post clearly shows the difference.


So instead of placing the blocks exactly alike next to each other, I rotated them, and it made the green diamonds look different from each other.


This is my personal best at piecing, my corners matched up close to perfect.  Clearly using a ¼ inch foot makes the world of difference when piecing your quilt.


I made my own stencil to quilt the inside blocks, using transparency paper.  I drew out the design with a marker, and used my husbands soldering iron and lightly touched the paper to burn out the design.  It worked out great.  

  
Here is a useful link that I've posted a few days ago to hand baste your quilt, the same method I used the baste his quilt.  And I'm happy to say I have not one single pleat or pucker at the back of my quilt.

Take care.
Happy quilting.

Thursday, 15 November 2012

Hand basting your quilt

I've had a few e-mails asking me how/why I had my quilt rolled up on a piece of board.  So I decided to share Susan Schamber's videos on how to hand baste your quilt, easily and without putting any strain on your body.

It was the 1st time I've tried this method, and by far the most comfortable and effective way to baste your quilt.  I have not been quilting for a very long time yet, and basting my quilts was the one part of preparing my quilts that I never looked forward to, but after trying it, I will always (unless there's even an easier way) use this method.

I have finished quilting today and I'm busy hand stitching the binding, and I'm happy to say that there's not one pucker at the back of my quilt.  Cant wait to share the finished result.

This is a 2 part video, and I'm so glad to have found them.  


Happy quilting.

LinkWithin

Related Posts Plugin for WordPress, Blogger...