Showing posts with label Foundation Piecing. Show all posts

Wednesday, 22 May 2013

Lucky Stars BOM - May "Spotlight Star"


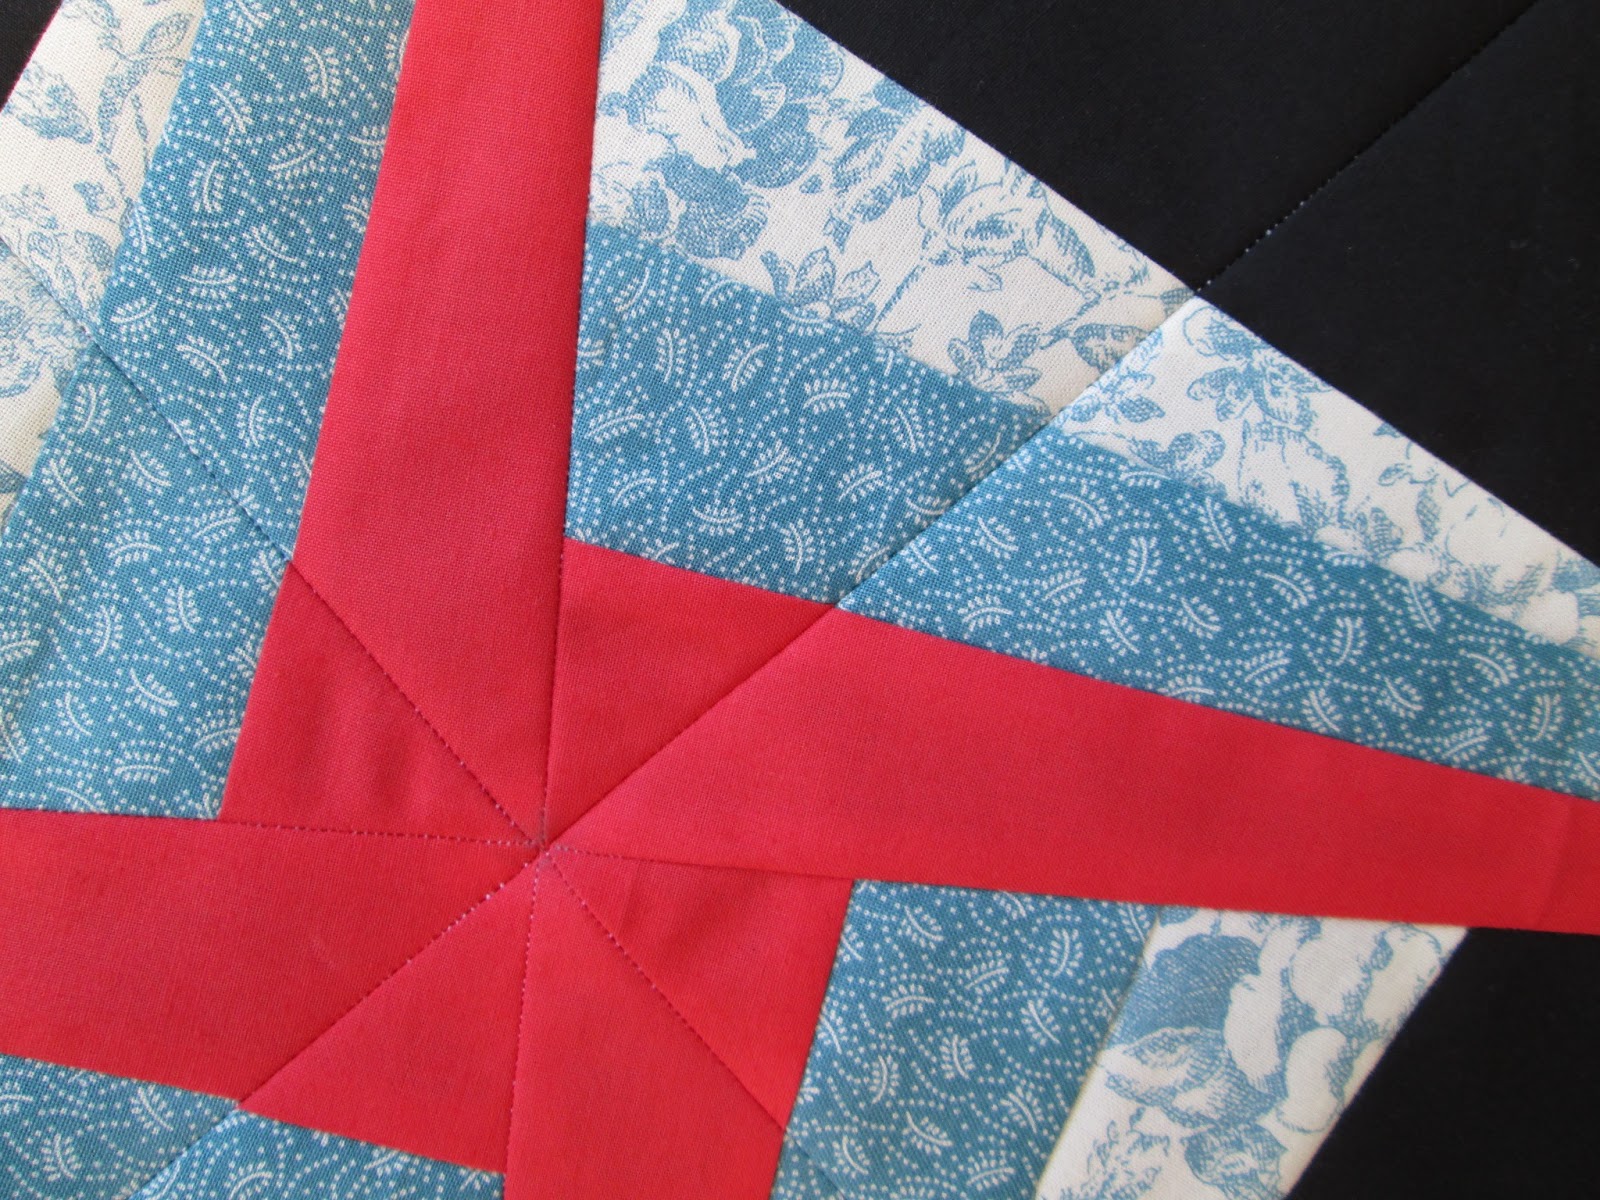
This month's Lucky Stars BOM, Spotlight Star is my favorite, so far anyway.  Not just the look of it, but the fabrics and colours I used, works really well together, or at least I think so.


I've really enjoyed piecing this month's block, I didn't have to use my seam ripper once throughout making the 12½ inch and 6½ inch blocks.  I guess I'm becoming a bit more confident with this technique and remembering my previous mistakes reminds me what NOT to do.


If you've never tried foundation paper piecing, I really recommend you try it out, once you've experienced the precision and crisp look of your blocks it will really inspire you to try out more.


If you'd like to see the other BOM's I've made, you can find them all here.  Of course there are hundreds of blocks made by others who have joined in making this BOM, you can find them all on the flickr group.

Linking up with WIP Wednesdays over at Freshly Pieced.

Happy quilting.


ps.  Just a quick thank you to everyone who joined in this week's linky party ((hugs))

Wednesday, 24 April 2013

Lucky Stars BOM - April "Black Hole Star"

Usually before I even start planning my BOM's for the Lucky Stars BOM, I would read up on the flickr group for any issues anyone might have with the block, trouble with seams not lining up, cutting instructions etc.  I found no comments or discussions so I went right on ahead and picked my fabrics and started cutting.


It being so close to the next BOM, and so many blocks already made by others, and because there was not any updated emails notifying us of mistakes with the pattern I thought it'd be safe to carry on.  I was just a tad bit upset after cutting all my fabrics, pieced half of the block when I found that there where two pieces of fabric that was one inch smaller than it should have been.  I went back to the instructions thinking that I made a mistake, but there it was written clearly, some of the pieces had a one inch difference and both should have been the same size.  So it meant that I had to start from scratch.  I'm making this quilt all out scraps, so the colours and prints I wanted to use was already cut and just enough for this block.  If it was larger than the instructions it would have been a different story.  If not for time I've already spent piecing I guess it would have been okay, making a block using this technique really takes hours.,.... sigh!

So, ...let me not complain to much about it, what's done is done, and I do like what I've ended up with.  Now at least I will know to look twice before even starting, regardless if anyone has posted concerns or not.

After piecing the separate sections, we had a choice of two different layouts.  'A' which is the  original placement and 'B' another variation.   

        
Layout 'A' Left - Layout 'B' Right

I liked 'B' the most, but felt that the light pink fabric was just too bright, and I think for it to have really worked it should have been a neutral subtle colour to not draw attention away from the center star.  So I went with 'A'.

As with all the other BOM's I used the scraps that was left after making the 12½ inch block to make the 6½ inch block.


The only thing that worries me a tiny bit, is all the bulk of fabric that comes together at most of the points.  I actually broke a needle going over one of the points of the star, I guess when I quilt it I'll have to try and move around it rather than stitch over it.


To see the other BOM's I've made you can find them all HERE.

Linking up to WIP Wednesday @ Freshly Pieced.

Happy quilting


Monday, 1 April 2013

Anything Goes - Quilt 'n Sew #11 - March in review

I have been quite busy this past month.  I actually cant believe how much I got done!  I have added links to each of the photo's I've posted below if you'd like to read more.

Made this photo mosaic with bighugelabs

I got to catch up quite a bit on my FMQ on Express Your Love - Goddess quilt, I made a  Picnic basket cover for a good friend.  I made a Table topper/wall hanging which was a bit of a flop, but overall turned out not too bad.   My March BOM Lucky Stars - Ninja Star was a good sewing day.  I also started and finished Kayleigh's Flannel baby quilt this month.  I played around making a few Cathedral window pincushions.  Loved FMQ my QAYG Sugar BOM - Snow Blossom and of course I had some time in between to make some more Hexies.

I would love to see what you've been up to!

Sew now it's time for this week's linky party


It's Monday and a new week, so lets all share some of our projects, please link up any current projects you've been working on, anything at all...  This link is open for a week and will run every Monday.  Remember to come back next week, or follow my blog to get regular updates.

If you wish feel free to add any other blog posts you write during the week, since this linky stays open for a full week, I think its a great idea to share and keep sharing.

All I ask is that you either add the 'Anything Goes' blog button to your sidebar or add a text link to your blog post, and comment on a few of the other links too, share the love and make this weekly link party a fun way to connect.
Stitch by Stitch
<div align="center"><a href="http://marelize-ries.blogspot.com/" title="Stitch by Stitch"><img src="http://i1269.photobucket.com/albums/jj592/MarelizeR/LinkyButton2_zps83805f35.jpg" alt="Stitch by Stitch" style="border:none;" /></a></div>

Happy quilting.


Saturday, 23 March 2013

Lucky Stars BOM - March "Ninja Star"


This month's Lucky Stars BOM with Elizabeth at Don't Call Me Betsy is called 'Ninja Star'.

I was honestly surprised at how easy this block came together.  I liked the fabrics of the block on the pattern so much that I tried to match my own fabrics to the colours as closely as I could, except for the background fabric, mine is all black.

So with all my pieces cut I jumped right in.  My biggest concern was matching the seams since there is no real guide.  So when it came to piecing the blocks together, I matched the ¼ inch line which should in at the edge of the block, marked on the paper (left picture) and hoped that it will be a good enough guide.  To make sure it worked I changed the stitch length to three and sewn just to the right (right picture) of the stitch line.


The picture below clearly shows the larger stitches, if I had to rip them out, it would not be too difficult, if I made a mistake and I kept my stitches so small, it would be much harder.


It worked perfectly.  So I just went back and sewn on that same line with a smaller stitch to secure it properly.


I had again used the scraps from the large 12½ inch block to make the smaller 6½ inch block.  Unfortunately my seams did not match up as neatly as with he large block.  I did rip out quite a few times, but that was as close as I could get it.


Here is a LINK to my other blocks I've made so far.

If you'd like to see hundreds of other beautiful blocks, visit the flickr group.

Happy quilting.

Wednesday, 13 February 2013

Lucky Stars BOM - February "Exploding Star"

We're almost in the middle of February and I almost forgot to make my block for the Lucky Stars block of the month with Don't call me Betsy.


My biggest struggle making this block, was not the piecing, that was rather straight forward.  Deciding on what fabric to use was the hard part.  I am not entirely sure if the three different red fabrics I used really work since they are all the same shade.  I think once we're closer to the end of this BOM series I will know if it works or not.  For now I will stick to it.  Again I used the scraps of the large block to make the 6 inch smaller block.

To see 100's of other BOM others have made go to the flickr group.

I am linking to WIP Wednesdays @ Freshly Pieced.

Happy quilting.


Monday, 7 January 2013

Lucky Star Foundation BOM - January "Funky Star"


This is my addition to the Lucky Stars BOM for January called Lucky Star.  I have tried foundation piecing only once before and was astound at how precise your block ends up.

It was not as tricky as I initially thought it would be, although I had a few boo-boos along the way, where I accidentally had the piece fold over itself and sew right through it, I quickly started using pins to secure the pieces of better.


If you want to join in the fun click HERE

ps.  I would like to know what type of blog content gets your attention and draws you to read more, please vote on the left. Tx

Happy quilting.

Wednesday, 2 January 2013

Looking forward to 2013

Thus far I have randomly made a few quilts, wall hangings, totes and bits in between.  Yet I have so many techniques I want to learn.  Paper Foundation piecing is one of them, so this year I am going to commit to a few BOM's, learning paper foundation piecing and random quilt blocks.

So I've signed up for the following BOM's, mainly to work on my piecing skills and at the end of the year I will end up with at least 3 beautiful quilts.
Skill builder BOM

The Sugar block Club

Lucky Starts Foundation Pieced BOM
With regards to free motion quilting, I plan to this year follow Leah Day's Free Motion Quilting more strictly and she has planned this beautiful  Express Your Love quilt that we'll be working on, not exactly sure how we'll go about making it, but from what I understand we'll learn different piecing techniques to make this and then of course to FMQ it too.  I really look forward to make this...
Express Your Love from Leah Days FMQ Project
And in between I want to learn "No sewing till you quilt it".  I bought the book from Day Styles Designs, and am totally intrigued by this technique.  (Images from Day Styles Designs)


It might seem like a lot, but I'm sure I can do it... I think :-)  
I'm certain if I have a schedule all worked out, I can do it... 

Happy quilting.


Thursday, 19 April 2012

Sampler quilt block #6 - Monkey Wrench

 
This quilt block - Money Wrench was done the same way using the foundation piecing method as the Pineapple block I did before.


Using tear away stabilizer I traced the pattern on four 6" pieces.  I placed the fabric pieces on the unmarked side and stitched along the marked lines of the foundation.


I used 3 different print fabrics, of which I chose a plain pink fabric as my background.  From the strips I made the four-patch blocks to create the center pieces.


To make sure I got the patches right in the center of the template I held it up to a window to make sure the seam lines were lying exactly underneath the drawn four-patch on the foundation and that the centers matched.

I placed the four-patch block on the unmarked side of the tear away stabilizer and pinned the first two background colour fabric triangles and stitched on the marked lines of the stabilizer.

After every two pieces added I pressed the triangles back against the seams with a hot iron to keep the fabric flat and to ensure that I wont by accident mess it up when I added the next two triangles.


After every row, I would fold the stabilizer back right on the drawn line I had just stitched to expose the seam allowance and I would trim off the excess.  It created a perfect ¼" seam


This is one of the four finished blocks.  Each block was pieced the exact same way.


After I had my four finished pieces I stitched them together making sure the points matched neatly.
This block will be one of my favourites for this sampler quilt, I enjoyed making it, and love to look at it :-)

Wednesday, 18 April 2012

Sampler quilt block #5 - Pineapple


Last night everyone went to bed early, so that was a nice time for me to start with my next block - Pineapple.  


I had a lot of fun piecing the block together using the foundation piecing method.  I have never done it before, so I took it slow, making sure to follow each step carefully.  I started out by tracing the pattern on a piece of tear away stabilizer, marking every row by number to make sure I wont get lost adding the strips of fabric.
I did not cut the fabric ahead of time, instead I cut the pieces as I needed them, because I was using 4 different colours and prints I did not want to make any mistakes by going ahead of time.
After I added a row with a specific colour or print fabric, I would fold the stabilizer over to cut a neat 1/4" seam following the drawn line in the front.
As the pattern grew, I was amazed at how 'perfect' the rows were.  I would definitely use this method again, maybe I'll try and come up with a few designs of my own.
Other finished blocks:  

LinkWithin

Related Posts Plugin for WordPress, Blogger...